
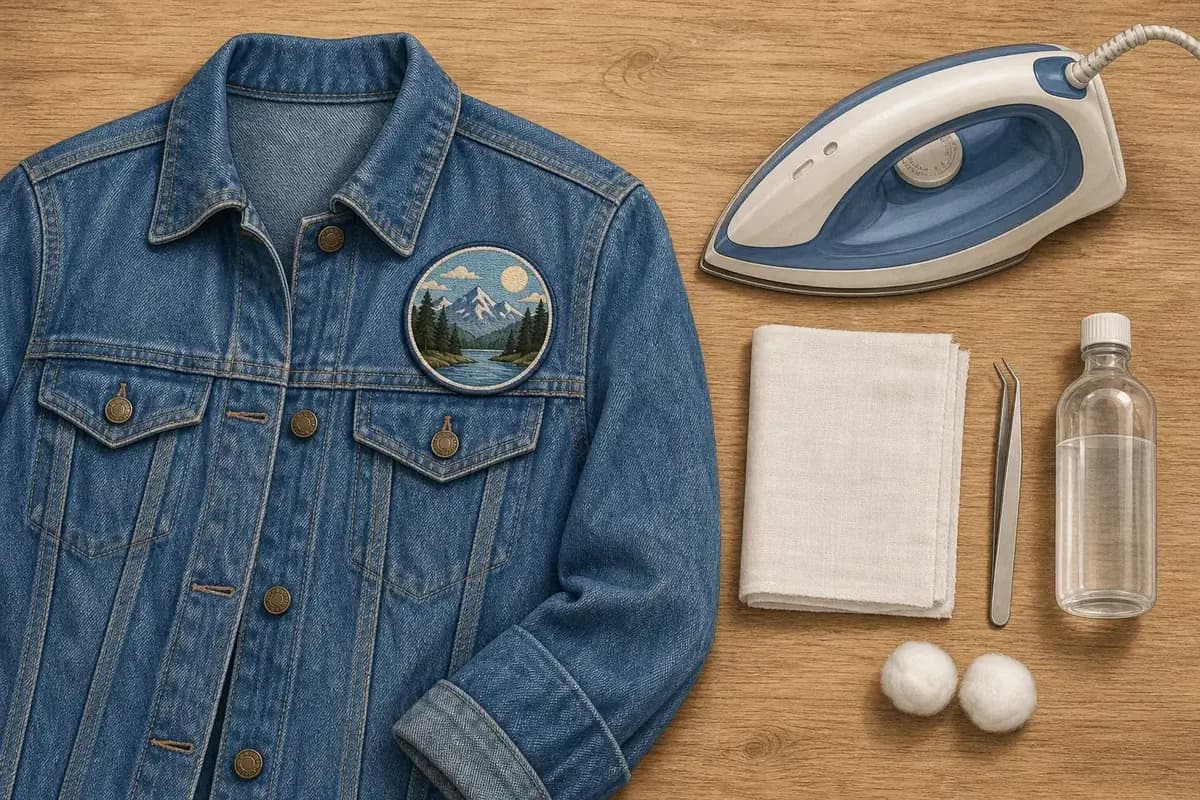
To remove an iron-on patch, cover it with a thin cloth and press a warm iron on it for 15 to 30 seconds to soften the glue. Peel up one corner with tweezers or a butter knife, reheating as you go. Wipe leftover residue with rubbing alcohol, then wash the garment. Use low heat or none on nylon, and never iron leather.
The right heat depends on the fabric, and one setting for everything is how people end up with a shiny scorch mark or a hole.
What do I need before I start?
Gather these first:
- An iron, set to the fabric (check the care label)
- A pressing cloth: any thin cotton cloth or pillowcase that sits between the iron and the patch
- Tweezers, a butter knife, or an old plastic card
- Rubbing alcohol and a cotton ball
- A seam ripper, if the patch is also sewn on
- An old toothbrush for scrubbing residue
Work on a flat, firm surface like an ironing board or a folded towel on a table. Turn the garment so the patch faces up and nothing is bunched underneath.
What's the safest way to remove an iron-on patch with an iron?
Heat softens the glue again. Iron-on patches hold because the adhesive on the back melts and grips the fabric fibers. Melt it a second time and the grip loosens.
Here's the method:
- 1Test first. Try the heat on a hidden seam, and do the same before you use alcohol or any remover later on.
- 2Set the iron to the right heat for your fabric (see the table below). Turn steam off.
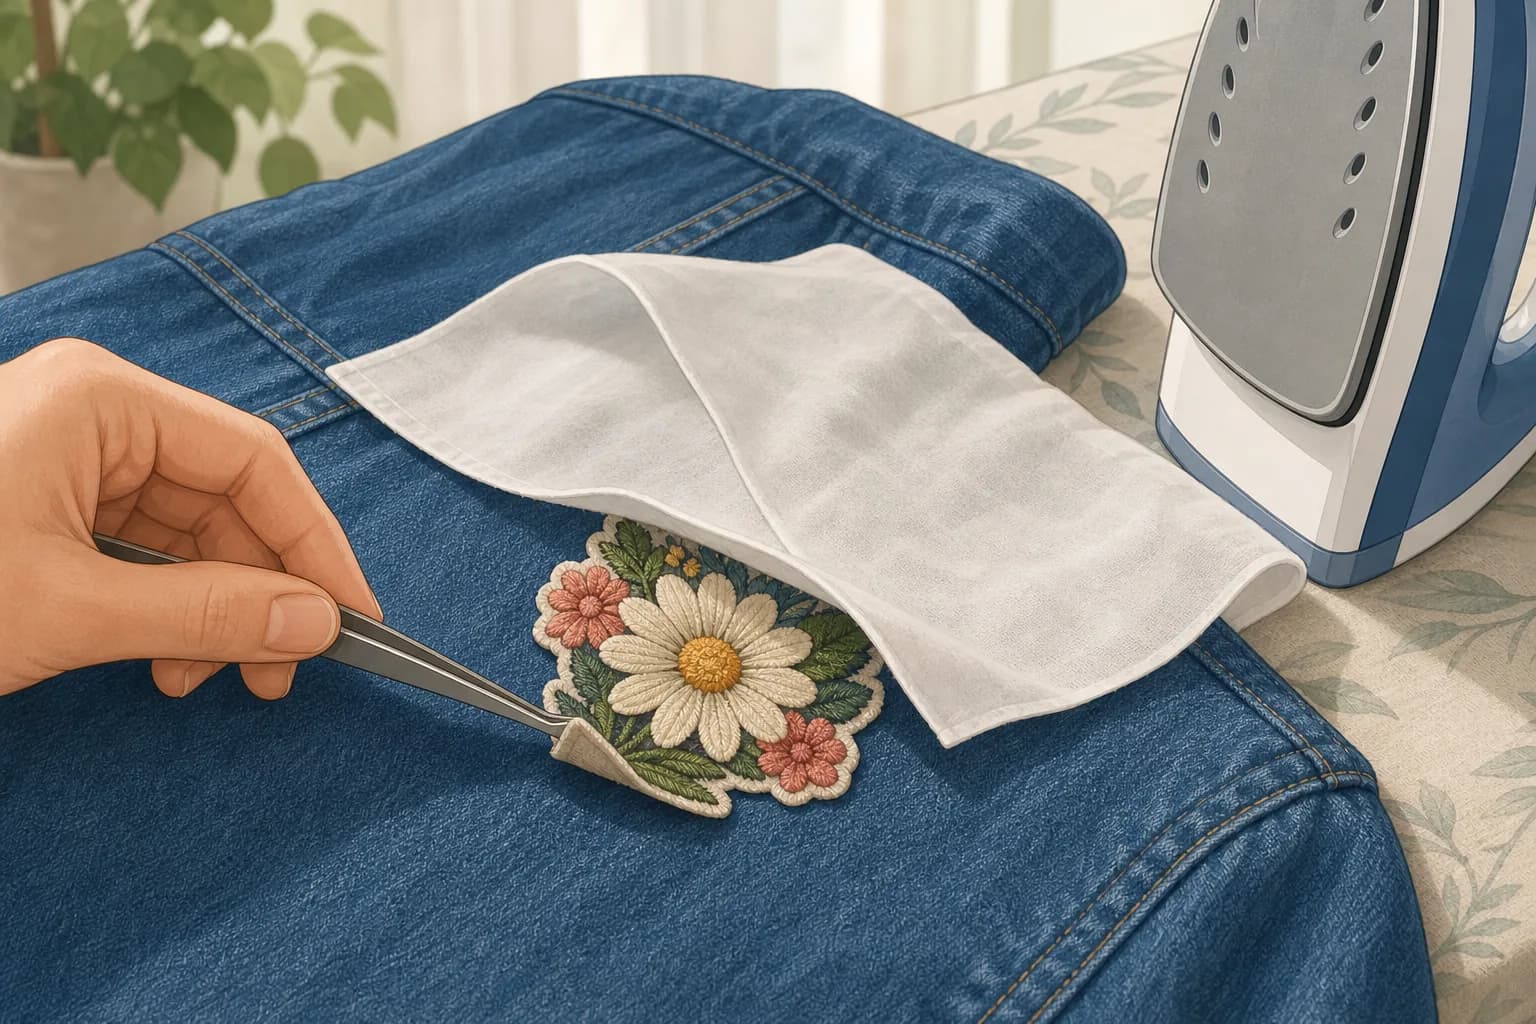
- 3Lay the pressing cloth over the patch.
- 4Press down firmly for 15 to 30 seconds. Don't slide the iron around.
- 5Lift the cloth and try a corner with tweezers or a butter knife.
- 6If it resists, cover it and press again. Peel while the glue is still warm.
- 7Work slowly from one corner across. Pulling hard on cool glue can tear the fabric.
If the patch comes off in one piece, good. If it leaves a layer of glue, move to the residue steps further down.
Which heat setting is safe for my fabric?
Not every fabric tolerates an iron, and the wrong setting can melt or mark it. Use this table, and check the care label first.
| Fabric | Iron setting | Stop if you see |
|---|---|---|
| Cotton, denim, plain canvas | High, about 400°F | Scorching |
| Coated canvas, backpacks | Low to medium, about 275 to 300°F | Coating bubbles |
| Polyester, blends | Medium, about 300°F | Shine, melting smell |
| Jersey, stretch knits | Low to medium, about 275 to 300°F | Rippling |
| Nylon, rain shell | Low, about 275°F, or none | Any shine |
| Fleece, sweaters | Low, about 275°F, or none | Flattened fibers |
| Leather, faux leather | Never iron | See the leather section |
Rain shells and backpacks are often coated, and that coating can fail under heat even when the base fabric is fine. If the fabric is a blend, go by the more heat-sensitive fiber. If your iron has no degrees, "low" means the nylon or synthetic dial setting.
Rubbing alcohol is usually fine on cotton and denim. On polyester, jersey, fleece and coated fabrics, dab rather than soak.
What if the garment is nylon or a rain jacket?
Nylon turns shiny and stiff (glazes) at heat well below a cotton setting. You have two choices.
The first is low heat through a pressing cloth, in short bursts of a few seconds, checking the surface each time. The second is to skip heat entirely. Soak a cotton ball in rubbing alcohol, dab it along the edge of the patch, and lift the edge slowly with a plastic card. Alcohol softens many adhesives over a few minutes.
On a waterproof coating, go gently. If the coating looks cloudy or starts to peel, stop.
How do I remove a patch from leather or faux leather?
Don't iron it. Heat can wrinkle, shine, or melt leather and faux leather, and the damage doesn't reverse.
Instead, slide a plastic card under one edge and work it along slowly. Add a tiny amount of non-acetone adhesive remover on a cotton swab (acetone can dissolve the coating on faux leather) where the glue is stuck. It can lift color or dry the surface, so spot-test it on a hidden spot and keep it to the glue.
If the piece is valuable or the patch won't budge, take it to a leather repair shop. That costs less than replacing a ruined jacket.
What if the patch is sewn on too?
Check the edge and the inside of the garment. Many patches are iron-on and also stitched around the border for extra hold.
If you see stitches, remove them first. Turn the garment inside out and look for the thread lines. Cut them with a seam ripper from the inside, then pull the loose thread out from the front. Once the stitching is gone, heat the patch as described above and peel.
Don't try to peel a stitched patch. The thread will tear the fabric.
When should I stop and leave the patch on?
Sometimes the patch isn't worth the damage. Stop if you notice any of these:
- The fabric looks shiny or glossy where the iron touched
- The fabric feels thin, or you can see light through it
- You smell melting plastic
- The surface puckers or ripples
- The glue spreads onto the garment instead of coming off with the patch
At that point, let the garment cool and think about the alternatives. You can leave the patch where it is, sew around it so it stays put, or cover it with a bigger patch.
How do I get glue residue off the fabric?
Peeling often leaves a sticky film. Here's what works, from gentlest to strongest.
- 1Reheat the area through a cloth and blot with a clean cloth. The warm glue often sticks to the cloth instead.
- 2Dab rubbing alcohol on a cotton ball and rub the glue gently. Let it sit for a minute or two.
- 3Scrub lightly with an old toothbrush, then blot.
- 4Wash the garment as the care label says. Check that the residue is gone before drying, because a dryer can set whatever is left.
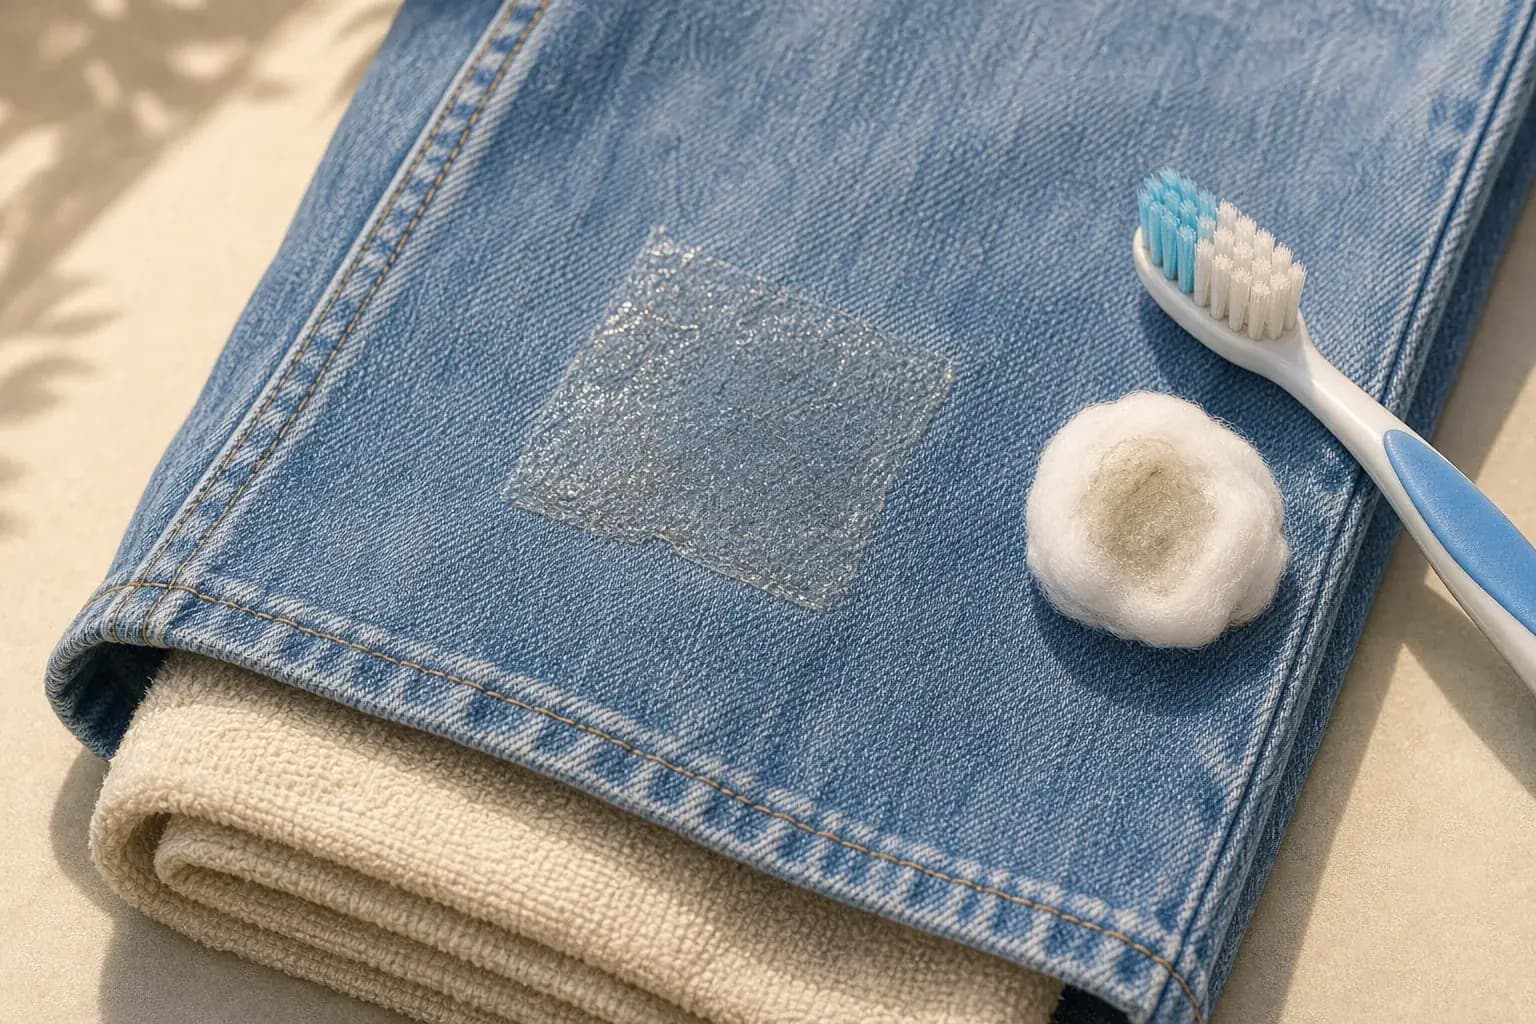
On denim, you can be a little firmer. Place a towel inside the leg so the alcohol doesn't bleed through, then work the glue in small circles.
Commercial adhesive removers are stronger. Skip them on silk, acetate (a shiny lining fabric), fleece and coated nylon, and spot-test on a hidden seam on anything else.
Will it leave a mark behind?
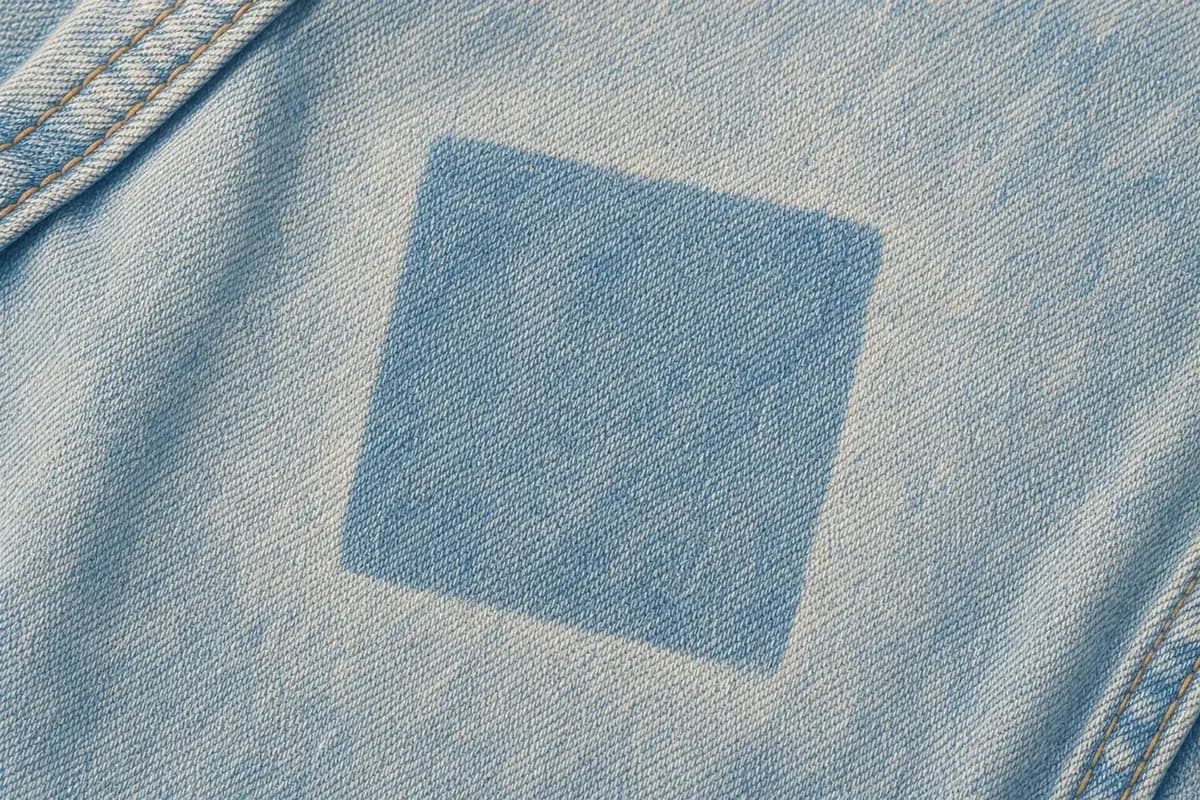
Often, yes. A patch shields the fabric underneath from sun, washing, and wear. After you remove it, the covered square can stay darker than the area around it. That's the ghost outline.
It usually fades with washes and time in the sun, but it may not disappear completely, especially on a jacket that's years old.
Your options:
- Wash the garment a few times and see how much it fades.
- Cover the outline with a new patch at least as big as the shadow.
- Leave it. On dark or worn denim, many people stop noticing.
Measure the outline and pick a cover patch a little larger so the edges are fully covered.
Can I reuse a patch after removing it?
You can try, but don't count on it. Once the glue has melted and cooled, much of it is spent. Re-ironing an old patch rarely holds for long, and it tends to peel after a wash or two.
If you want to keep the patch, sew it on. A few stitches around the border will hold it far better than reheated glue. If you do want to try the iron again, our guide on how to apply iron-on patches explains the steps.
If the patch is worn out, think about the backing before you replace it. If the old one kept lifting, sew-on or Velcro may suit that garment better than glue. Jerry William, Sales and Marketing Executive at TAP, recommends sew-on for sweaters. Delicate knits can scorch under an iron. Our comparison of iron-on vs sew-on vs Velcro patches explains which backing fits which fabric.
Replacing the patch?
Our embroidered patches run from 1 in to 18 in, so you can pick one a little larger than the mark, and Jerry recommends 2 to 2.5 in for a cap front panel. Velcro backing is available at no extra charge if you want to swap it later. You get a free digital proof first, and there's no minimum order, so one replacement is fine.