
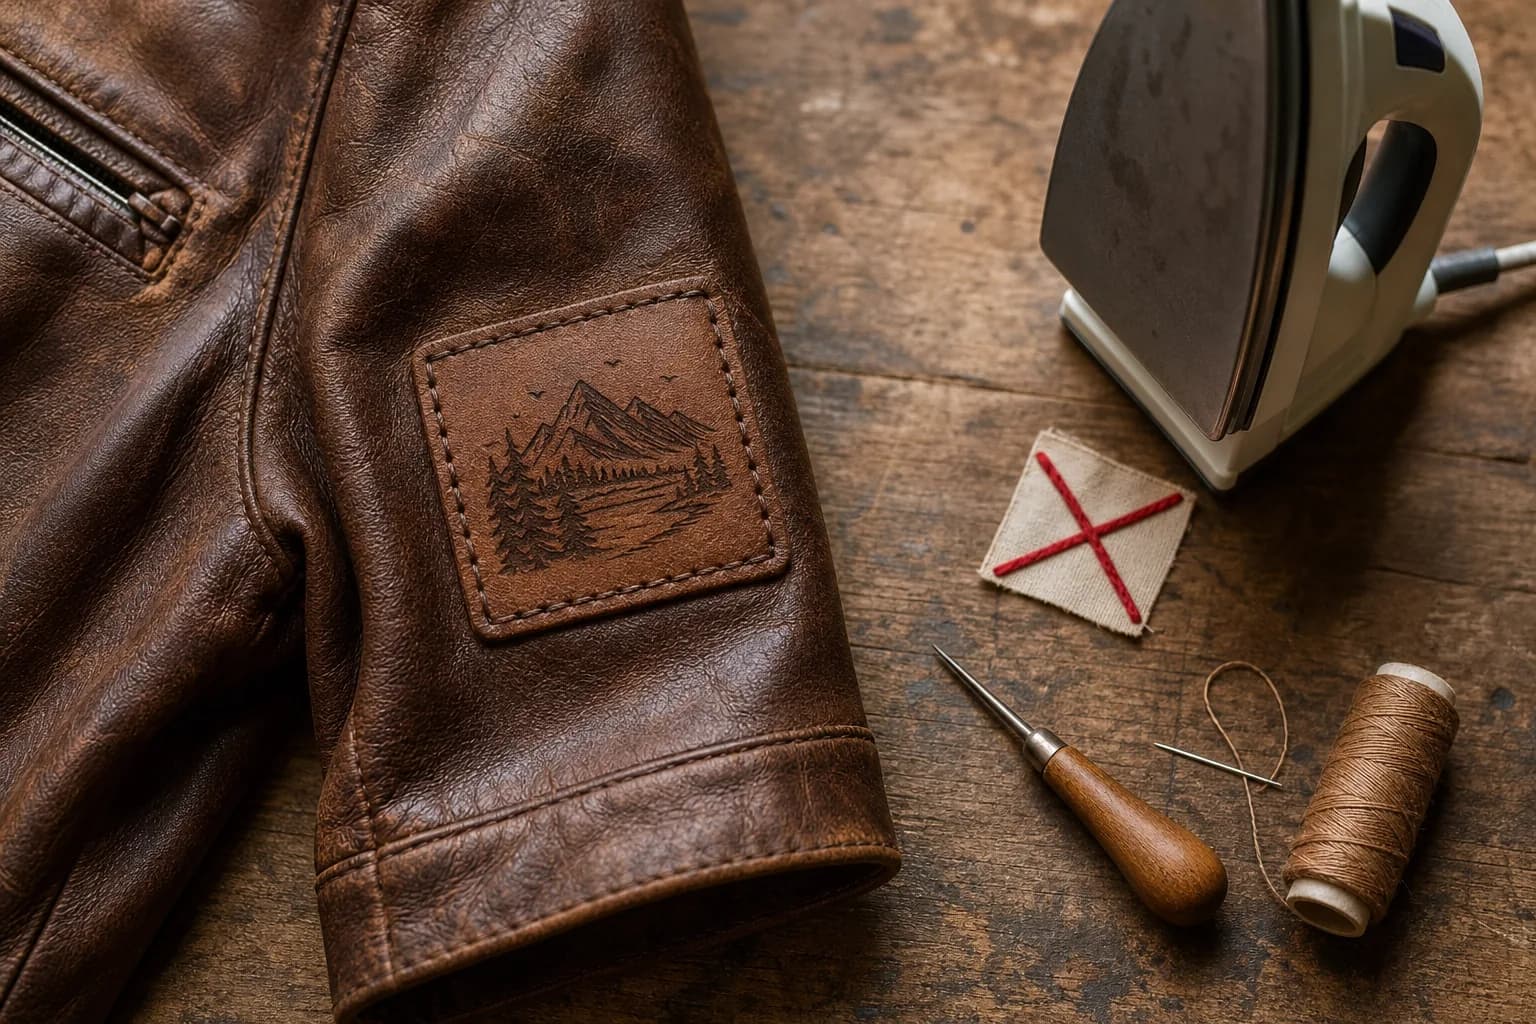
Generally, no. Heat can darken, stiffen, glaze, or shrink genuine leather, and iron-on glue bonds poorly to finished leather. Faux or PU leather can melt or peel under an iron. Sew the patch on with a leather needle and strong thread, or use a leather-safe adhesive for light use.
So you have a leather jacket and a patch with iron-on backing. Put the iron down for now. Scorched leather stays scorched.
Why doesn't an iron work on leather?
Leather is skin, and heat changes it. An iron can darken the surface, leave a shiny glazed patch, make the leather stiff, or pull it tight so it puckers. The damage often shows up after it cools, when it's too late.
The glue is the second problem. Iron-on backing is a heat-activated adhesive made to soak into woven fabric fibers. Finished leather has a sealed, smooth surface, so the glue sits on top and peels at the edges.
Faux leather is worse. Most of it is plastic on a fabric base, and the plastic melts onto the iron.
Which leather do you have?
Check this first, because it changes what's safe. Genuine leather, faux or PU leather, and suede all react differently.
Look for these clues:
- Label: tags that say genuine leather, real leather, or full grain point to real. Man-made, vegan, PU, or polyurethane means faux.
- Back side: genuine leather looks rough and fibrous. Faux leather usually shows a fabric mesh or knit backing.
- Edges: real leather edges look uneven, with visible fibers. Faux edges look clean and uniform, sometimes with a plastic layer on fabric.
- Surface: real grain varies a little from spot to spot. Faux grain often repeats in a perfect pattern.
- Smell: real leather smells earthy. Faux often smells like plastic or chemicals.
No single clue is proof, so use two or three together. If you're still unsure, treat it as the more delicate type and sew.
What changes for faux leather and suede?
Faux or PU leather can melt or peel when heated, so skip the iron completely. Sewing works, though the coating can flake around the holes over time. Place stitches carefully and don't pull the thread too tight.
Suede has a soft, brushed surface, called the nap. A glue that soaks through can leave a dark stain that's hard or impossible to remove, and heat can flatten the nap. For suede, sew only. If you must tack a patch while you stitch, use clips rather than adhesive.
How do you put a patch on a leather jacket?
Sew it. Stitching is the most reliable way to survive flexing and rain for years. Here's how to do it by hand:
- 1Pick your spot and mark it lightly. Hold the patch against the jacket and check it in a mirror.
- 2Hold the patch in place with binder clips or sewing clips. Skip pins, because every pin leaves a hole in the leather.
- 3Use a leather needle, which has a triangular point that cuts through instead of tearing. Craft stores sell these as glover's needles. On a sewing machine, use a leather needle in size 90/14 to 110/18. A regular needle will struggle.
- 4Thread it with waxed polyester or nylon thread. Both are strong and don't rot.
- 5Stitch about 1/8 in (3 mm) in from the patch edge, with stitches about 1/8 to 3/16 in apart, going through the patch border and the leather.
- 6Tie off on the inside and tuck the knot out of sight.
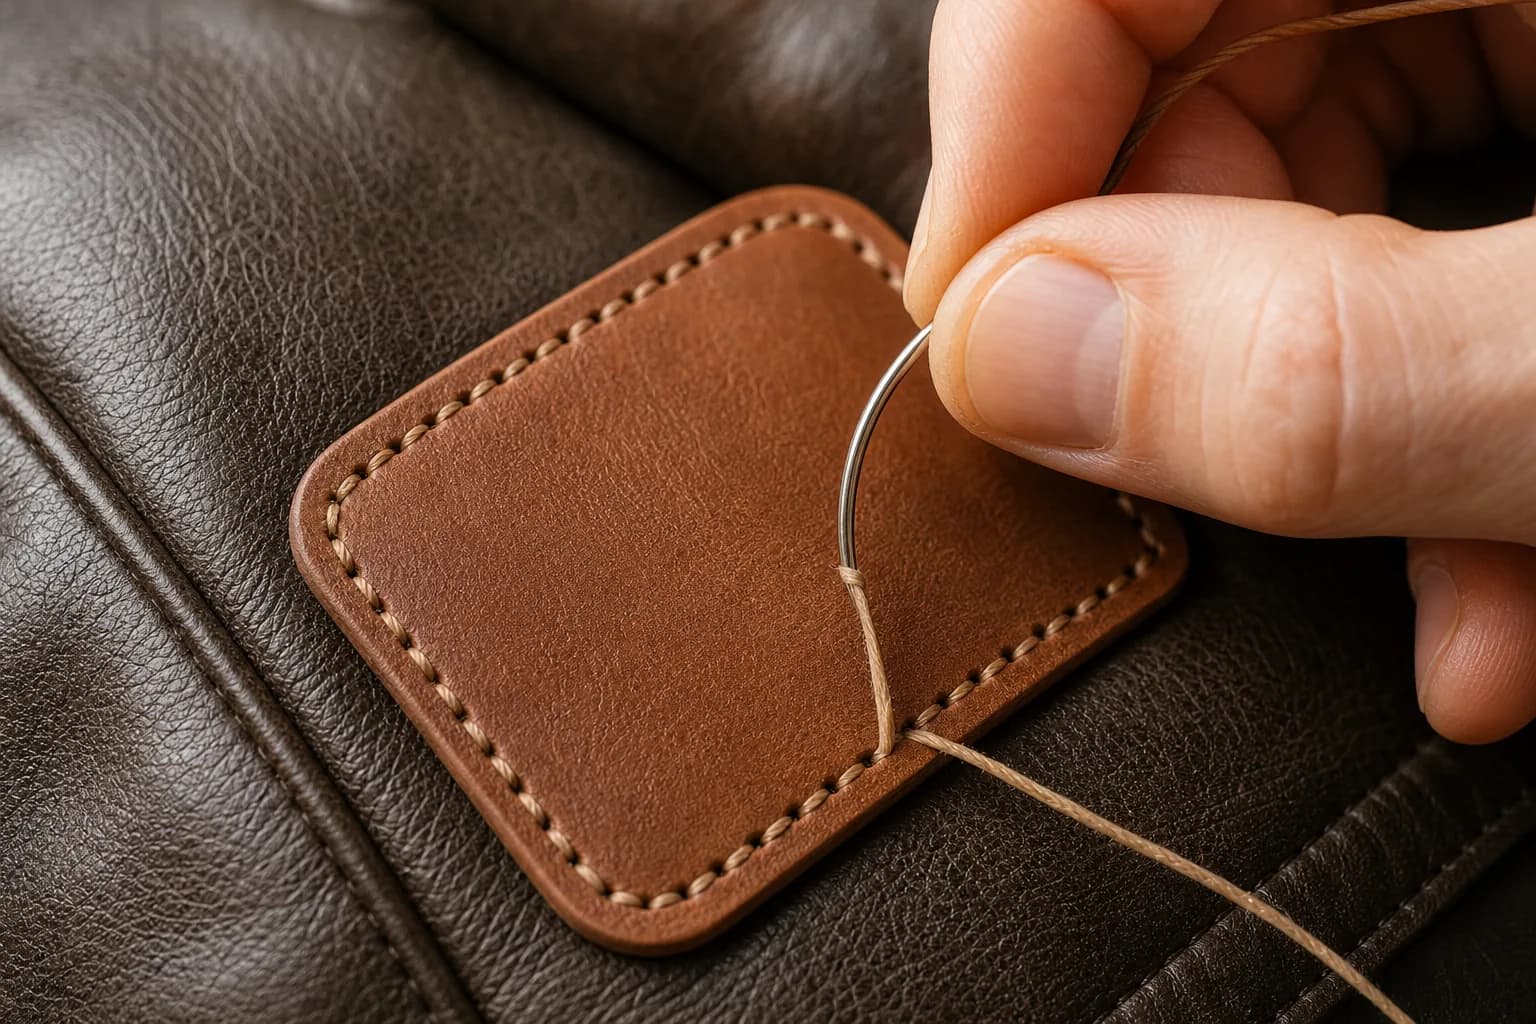
Go slowly. A thimble helps a lot. If the leather is thick, a pre-punched hole makes each stitch easier. Use an awl, a pointed hand tool that opens a hole before you stitch.
Already bought a patch with iron-on backing? You can still sew it. The glue layer makes the border stiffer and can gum up the needle, so stitch through the outer edge only and wipe the needle every few stitches.
Here's the part people miss. Needle holes in leather are permanent. Leather doesn't close up like fabric does. So plan your placement first, and test it with clips before the first stitch goes in.
When is leather-safe adhesive a good option?
Adhesive is a decent tack or a short-term fix. It works for light-use items such as a display piece, a bag you rarely carry, or a patch you only want to hold in place while you sew.
Use one labeled safe for leather that stays flexible when it cures, because a rigid glue cracks as the leather bends. Test it on a hidden spot first. Fabric glue and general craft glue may not bond well and can stain. Skip it on suede.
Glue alone won't survive a jacket you wear often. Daily flexing will loosen it. If the patch matters to you, sew it.
Can you use Velcro on leather?
Yes, with one extra step. Velcro patches need a loop panel on the garment. You can sew a loop panel onto the leather, then press the patch on and take it off whenever you want. It's a good choice for club patches that change, rank patches, or a jacket you might sell later.
The panel itself is sewn on, so it leaves the same permanent holes. Read our guide on custom Velcro patches to see how hook and loop works, and our comparison of iron-on vs sew-on vs Velcro patches for other fabrics.
What if you want a leather patch on fabric?
Many people searching this question mean the reverse. They have a leather patch and want it on a cap or a denim jacket.
TAP makes leather patches in genuine and faux leather. They can be debossed, embossed, or laser engraved, and they come with sew-on, adhesive, heat-seal or iron-on, or Velcro backing. The With Stitch option adds a sewn edge seam.
Heat-seal backing is a glue layer on the back that melts and bonds under a heat press, so a heat-seal leather patch can go onto a cotton or canvas cap. Heat-press instructions come with your proof. The patch is built for a short press, and a cap's fabric weave gives the glue something to grip that finished leather doesn't. Follow the press instructions that come with your proof. For curved or stiff crowns, stitching around the edge adds extra hold.
If you're putting a leather patch onto a leather garment, you're back to sewing.
What about leather vests and biker jackets?
Leather vests usually get patches sewn by a leather shop or with a heavy-duty machine. Thick hides and large back patches are hard on hand needles, and a crooked row of stitches shows on a club vest.
Biker jackets add one more problem: the lining. To sew a back or shoulder patch, you either open a lining seam to reach the inside or stitch only through the leather layer. A leather shop can do either and close the lining after.
Placement matters even more on a vest, since holes stay. Our guide to motorcycle vest patch placement covers where each patch usually goes. If you're building a set, browse custom motorcycle patches.
Can you remove a patch from leather later?
Yes, but expect marks. Needle holes stay in leather, so a removed patch may leave a faint outline of stitch marks.
To remove a sewn patch, cut the thread from the back with a seam ripper and pull out the pieces. Go slowly so you don't nick the leather.
For a glued patch, peel from one corner. Work slowly, and test any adhesive remover on a hidden spot first. Don't use heat to loosen the glue.
Which option should you pick?
Pick by how you'll use it:
- Anything leather you wear every day: sew it.
- Patch you might swap out: sew on a loop panel and use a Velcro patch.
- Light-use item or a tack while sewing: leather-safe adhesive.
- Leather patch on a fabric cap: heat-seal with a heat press.
- Faux leather or suede: sew only.
If you're ordering, TAP's leather patches have no minimum order, so you can try one test patch before a full set. Velcro backing costs no extra. You get a free digital proof before production and a 14-day guarantee. Ordering for a leather jacket or vest? Choose sew-on backing. Tell us the garment material when you order.